
Your entry into the course
The chapters open the respective section on YouTube:
1:00:21 · Image composition and visual storytelling
1:31:08 · Telling stories with pictures
1:42:20 · How editing shapes history
2:25:22 · Audio recordings and practical questions
From watching to doing
After each chapter, take on a small task: Observe an everyday situation and describe it in just a few shots. What do we need to understand the setting? What detail reveals something about the person? And what tone of voice is appropriate?
This transforms a technical foundation into a conscious decision for your next story.
Real people.
Real stories.
Look closely.
Documentary films about people, their lives, and what moves us. With time to listen. And an eye for what truly matters.

Living with Mastocytosis
A personal glimpse into life with mastocytosis. About challenges, perspectives, and the life that takes place in between.
Watch the film ↗Listen first.
Then the camera.
I'm interested in stories that unfold in real life. People with their own experiences, contradictions, and a perspective worth hearing.
The form follows the story. I want to observe, understand, and create space – for genuine encounters and for that which cannot be staged.
People & Everyday Life
Personal lives. Small moments. Individual perspectives.
Culture & Society
What shapes us, connects us, and makes us think.
Places & Changes
Stories of belonging, movement, and change.
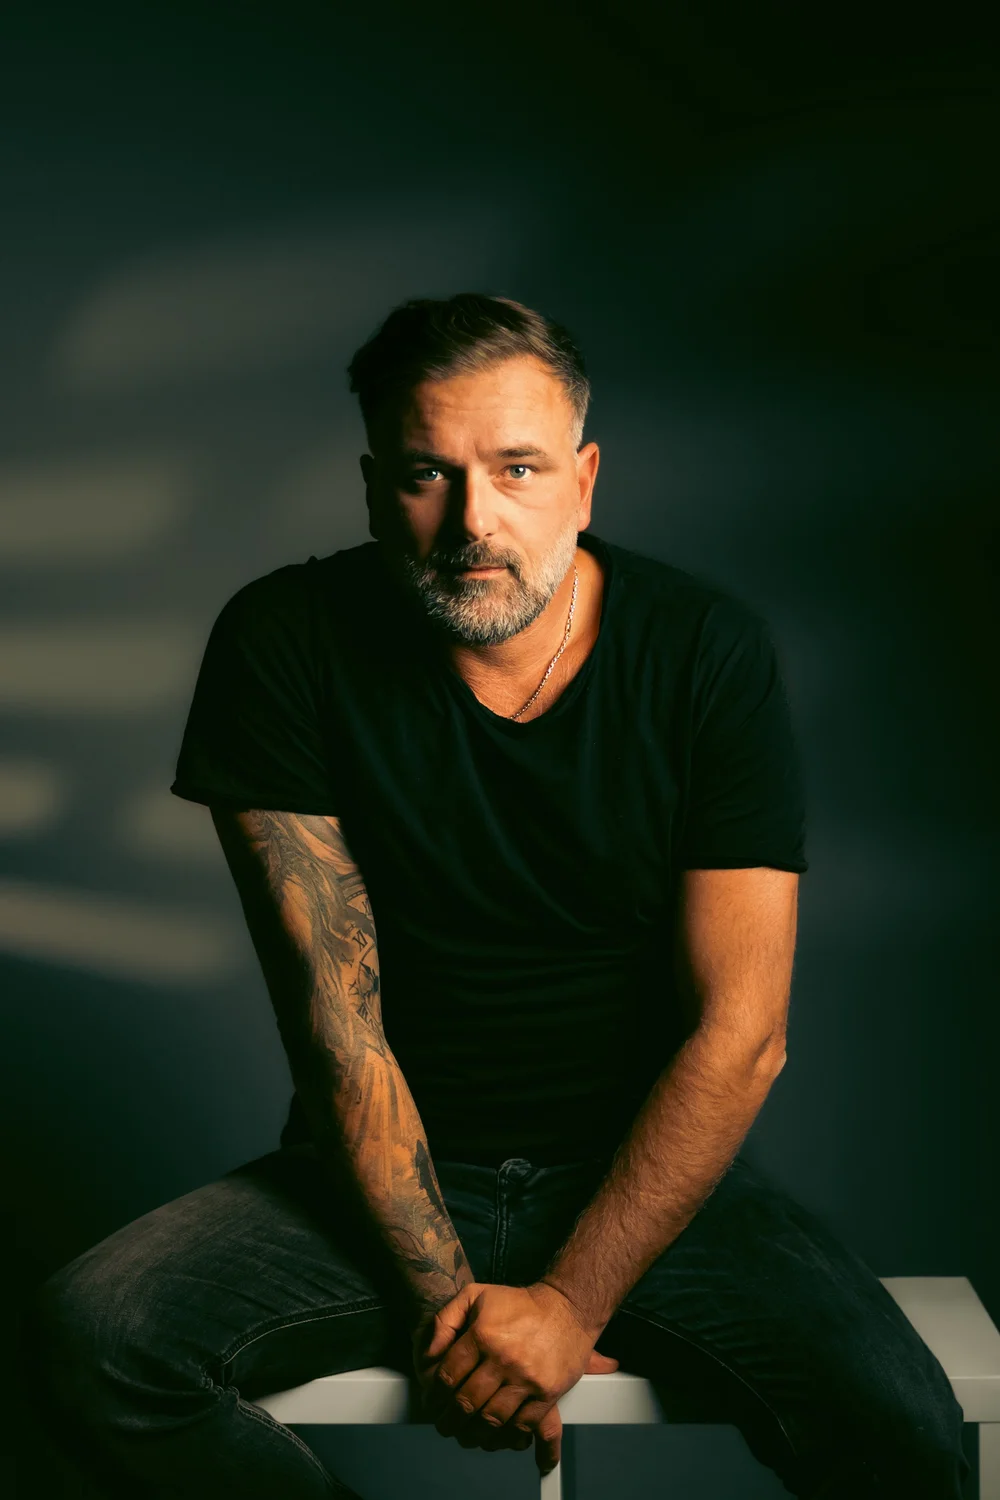
I am Biagio.
Filmmaker from Stuttgart. I am moved by human stories and the question of how we experience the world.
With my films, I want to create a sense of closeness: to people we don't yet know, to experiences that are unfamiliar to us, and to moments we would otherwise pass by.
Let's start a conversation ↗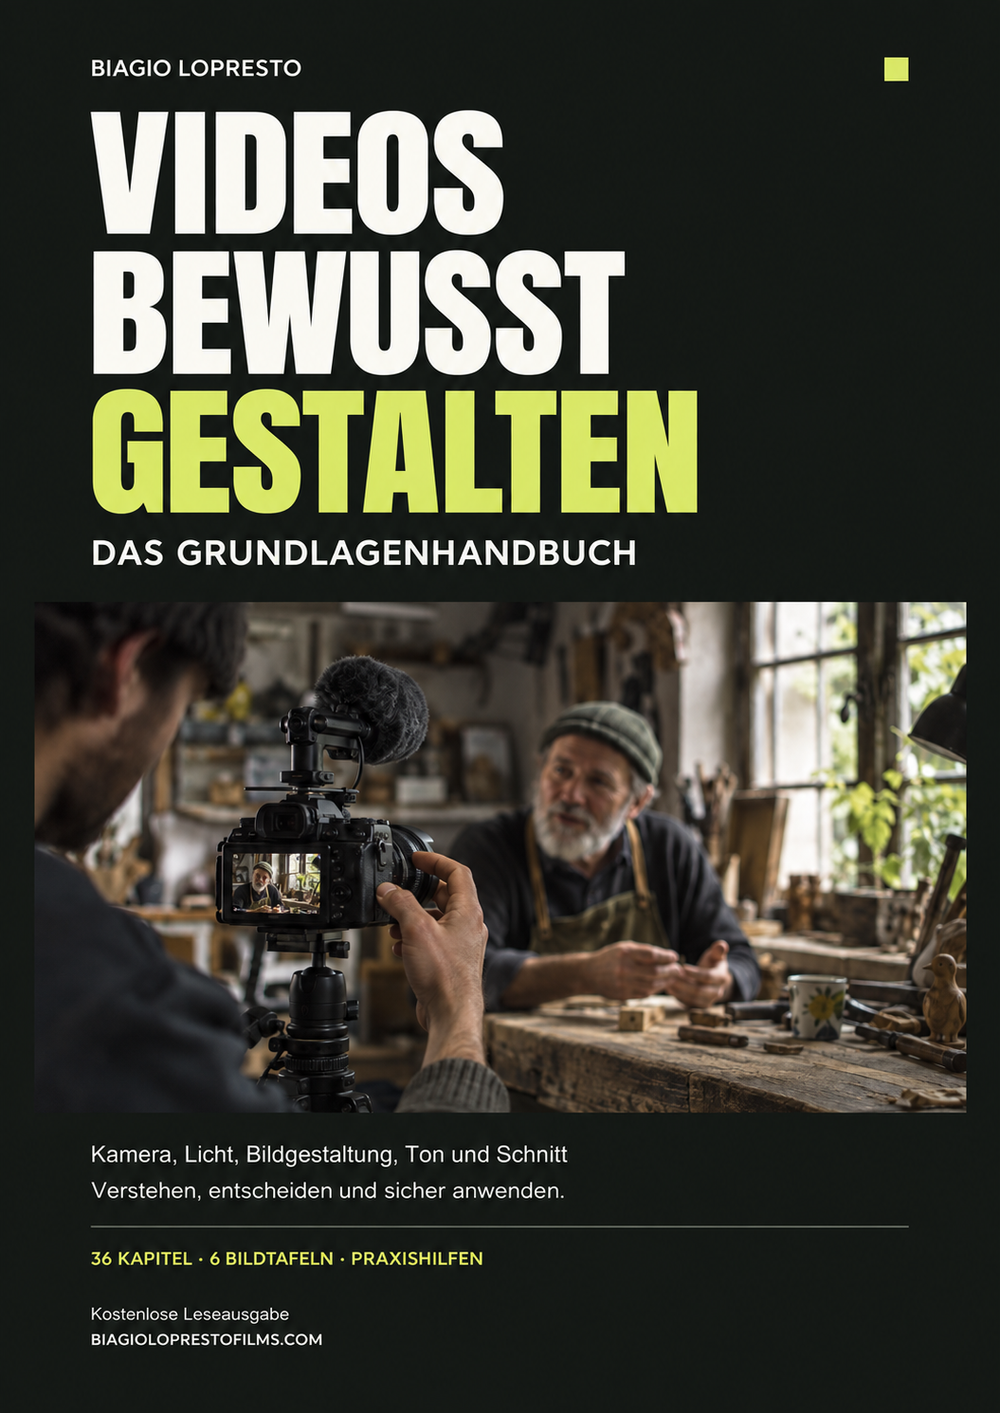
Your introduction
to filmmaking.
A good story begins with a conscious eye. In my handbook "Consciously Designing Videos," you'll learn the fundamentals for translating your ideas into clear visuals and understandable audio.
From camera and exposure to lighting and composition, sound and editing: explained step by step, with diagrams, a handy checklist, and solutions for common mistakes. Perfect for getting started – and for reference on your next shoot.
This is where a story begins .
Do you have an idea, a topic, or a story?
Write to me. We'll find a starting point together.
Journal

Film It! – Learn filmmaking, tell stories
24 episodes, one course: With "Film It!" I guide you from camera and lighting to storytelling, editing, color correction, and sound. Discover the fundamentals of filmmaking—and learn how to apply them to stories about real people and real-life situations. Includes an embedded video, chapter overview, and a practical exercise for your next shoot.

The ultimate audio guide for video creators: From the basics to perfect sound
The Ultimate Audio Guide for Video Makers.
Many filmmakers invest countless hours in cameras, lenses, and perfect editing – but the true secret to professional productions lies in the sound. Poor sound can ruin even the most beautiful image, while clean, clear audio elevates your story to a whole new level. In this guide, I'll show you the most important basics, techniques, and professional tricks to help you plan your recordings correctly from the start and refine them in post-production. A practical mini-course that opens the door to perfect sound.
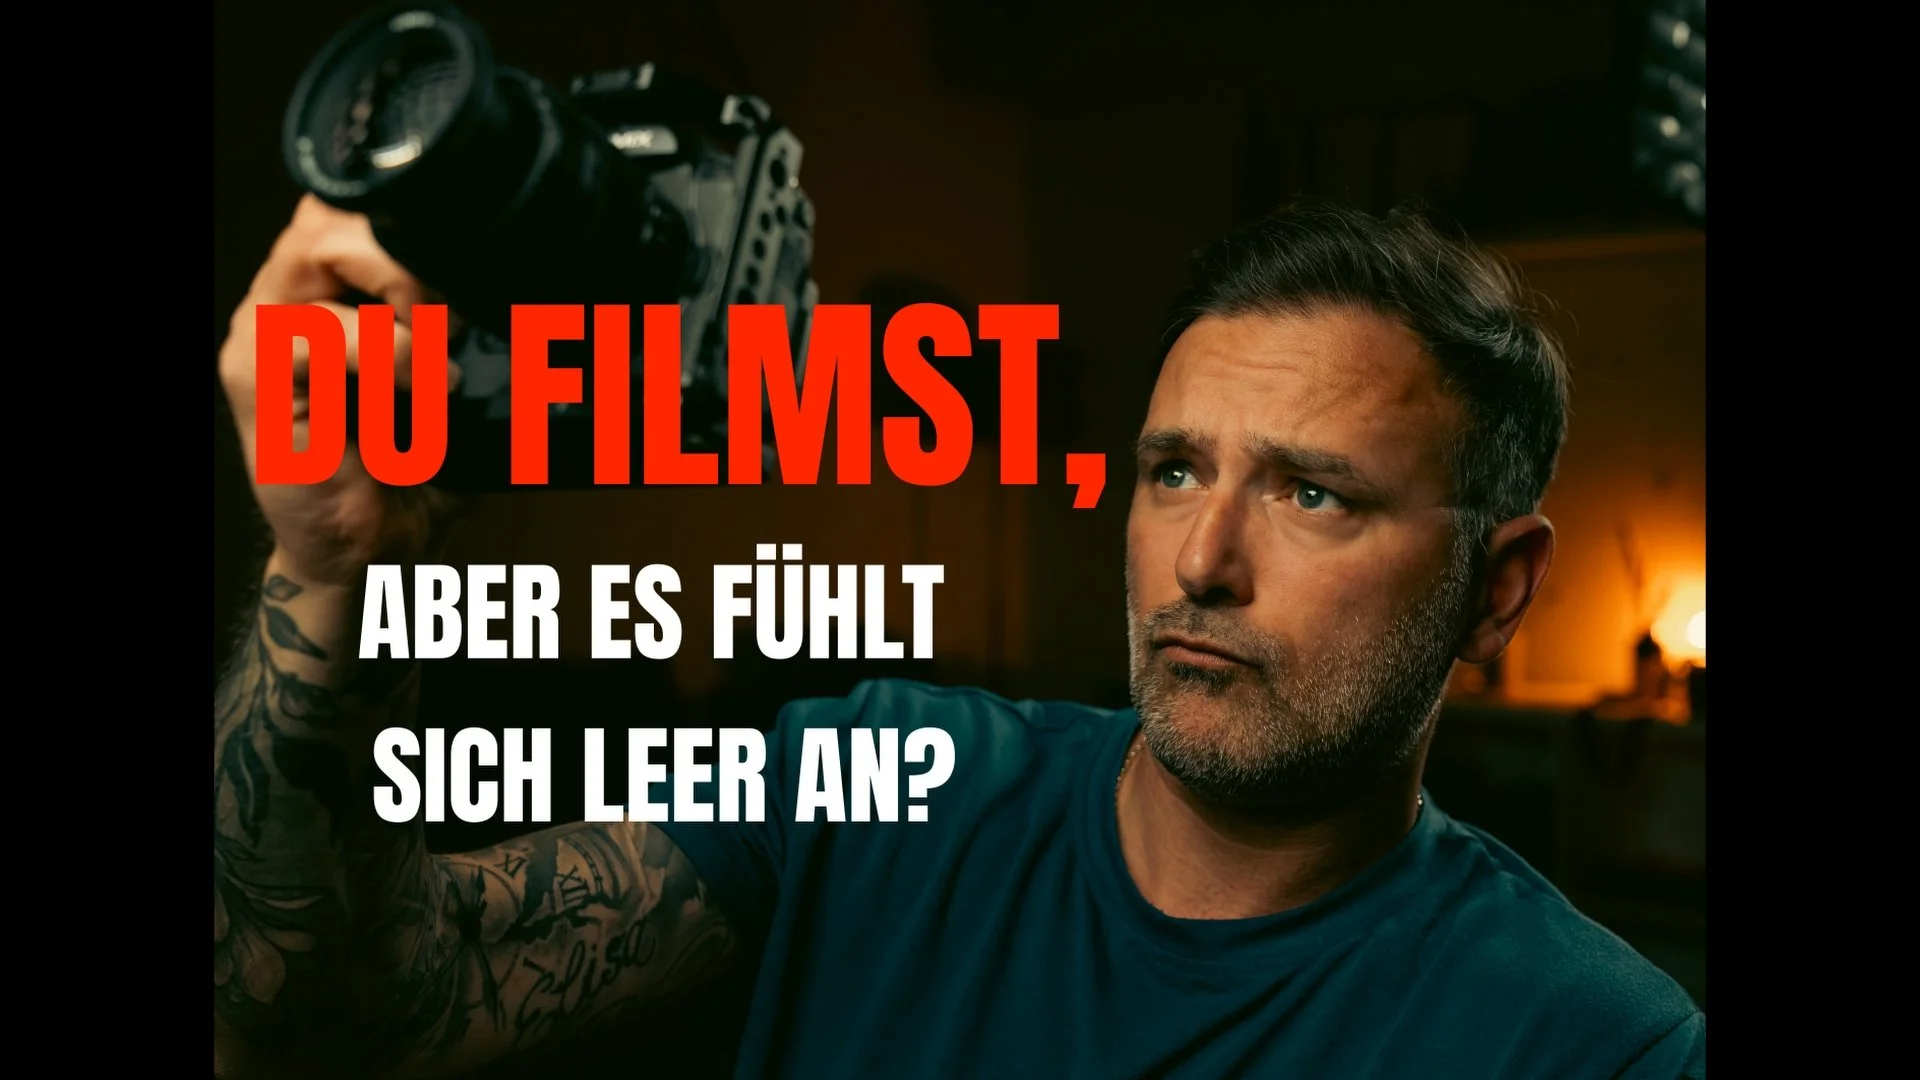
You're filming, but it feels empty?
🎬 "You're filming, but it feels empty?"
Many video creators know this feeling: The technology is fine, the lighting is perfect – but in the end, the footage feels lifeless. Why? Because it lacks a story.
In my latest blog post, I'll show you two simple exercises to train your visual storytelling skills – without getting lost in camera angles.
👉 From a conscious story walk to a targeted mini-storyline .
Because good videos aren't created through technology – but through meaning.
➡️ Read the post now and find out how to take your storytelling to the next level.
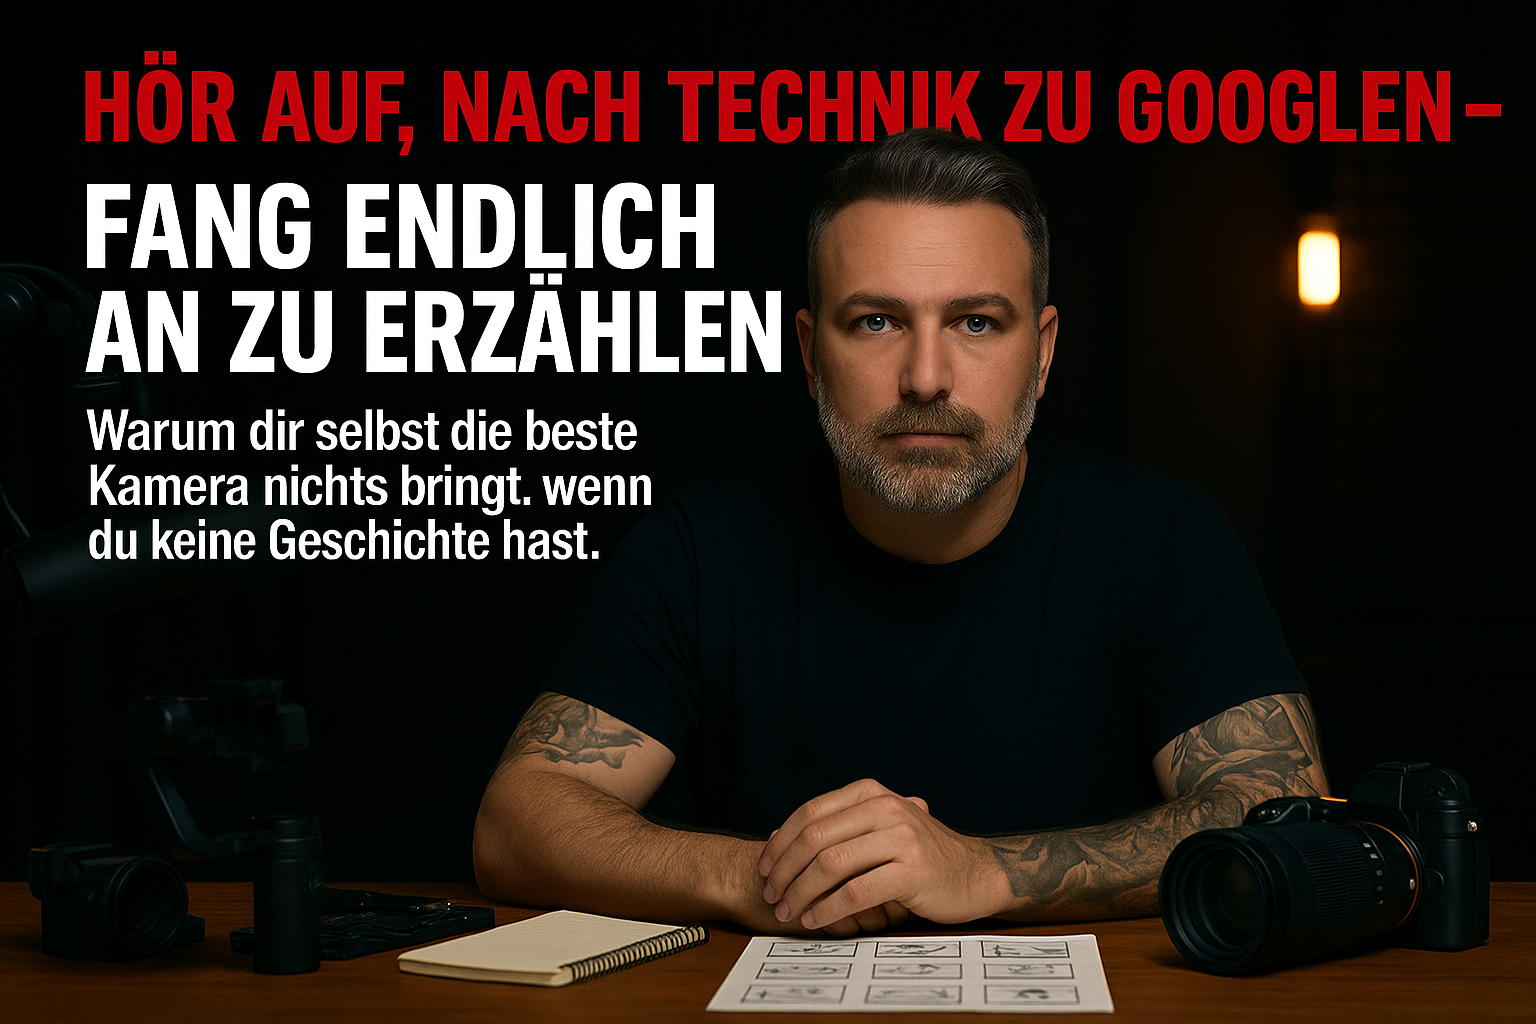
You want to start making videos – but don't know where to begin?
Want to start filmmaking but unsure about cameras, technology, and equipment? Here you'll learn why storytelling is more important than expensive gear and how to start making videos right away. Practical tips for beginners and the most important filmmaking basics.
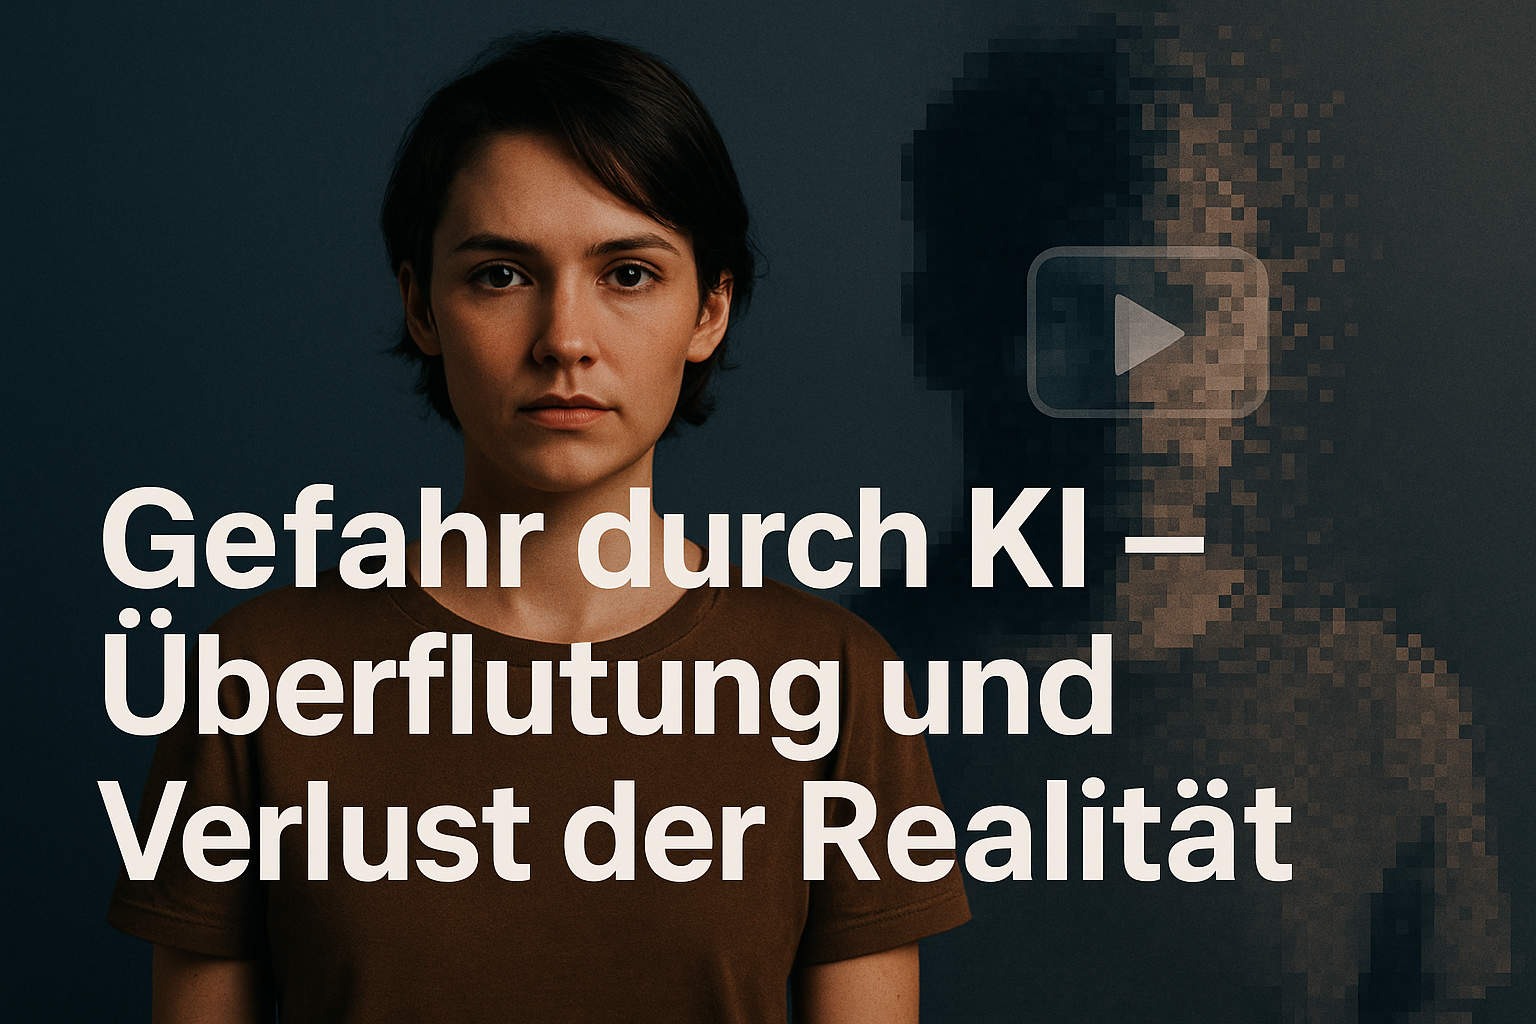
Between fake and fact – How artificial intelligence is challenging our reality
"The Danger of AI: A Changing Reality?"
Deceptively realistic AI-generated videos are no longer a vision of the future – they are already here. What does this mean for our perception, our trust in media, and our role as creators and consumers? This article shows how we can not only survive, but also find our bearings – with quality, ethics, and a critical perspective.
Film It! – Learn filmmaking, tell stories
Good films begin with attention: to a person, a place, or a moment that tells a story. Camera work and editing help to make this observation visible. What ultimately matters is what we show – and why.
With "Film It!" I've combined 24 episodes of my course series into one continuous video. You can start from the beginning or delve deeper into a specific topic: from camera and exposure to composition and lighting, storytelling, editing, color correction, and sound.
Especially in documentary work, these fundamentals belong together. A picture needs a clear vision, a scene its own rhythm, and a conversation an understandable tone. Technology becomes helpful when it serves the story.
Want to review the basics from "Film It!" at your own pace? My free handbook "Consciously Designing Videos" guides you from camera and exposure to lighting and composition, all the way to sound and editing – with practical checklists for your next shoot.
The ultimate audio guide for video creators: From the basics to perfect sound
As a video creator, you focus on the perfect visuals, the right lighting, and captivating editing. But how often does sound get neglected? The truth is, audio quality is often underestimated, even though it has a crucial impact on the overall effect of your video. Experts agree: audio can account for up to 70-80% of the final product . A minor editing error might go unnoticed by the audience, but an audio glitch—a crackle, a sudden volume jump, or unintelligible dialogue—can ruin an otherwise great project and instantly pull the viewer out of the experience.
This guide is your practical mini-course, taking you through the most important aspects of audio production – from basic concepts and the right equipment to the magic of post-production. Consider it your foundation for taking the audio in your videos to a professional level.
--------------------------------------------------------------------------------
1. Why audio can determine the success of your video: The foundation
1.1. The strategic importance of tone
A fundamental understanding of audio is not optional for any ambitious video creator, but essential. Good sound conveys professionalism, creates atmosphere, and emotionally engages the audience. It's the invisible framework that supports your visual narratives. Poor sound, on the other hand, is immediately perceived as amateurish, distracts from the content, and, in the worst-case scenario, causes your audience to simply tune out. The ability to record and edit clean, clear audio is one of the most important skills you can acquire.
1.2. The three pillars of sound: What you really need to know
Every sound we hear can be described by three basic properties. Knowing these helps you to perceive and shape audio more consciously.
• Höhe (Frequenz) Die Höhe eines Tons wird durch seine Frequenz bestimmt, also die Anzahl der Schwingungen pro Sekunde. Gemessen wird sie in Hertz (Hz). Der menschliche Hörbereich erstreckt sich ungefähr von 20 Hz (tiefe Töne) bis 20.000 Hz (hohe Töne). Zum Vergleich: Fledermäuse können Ultraschallfrequenzen weit über diesem Bereich wahrnehmen, während Wale im Infraschallbereich bei extrem tiefen Frequenzen kommunizieren. Dieses Wissen ist praktisch, wenn du beispielsweise die technischen Daten von Lautsprechern bewertest oder Frequenzen in der Nachbearbeitung gezielt anpassen möchtest.
• Intensität (Lautstärke) Die Intensität eines Klangs ist seine Lautstärke, die in Dezibel (dB) gemessen wird. Die menschliche Hörschwelle liegt bei 0 dB. Während ein Flüstern etwa 40 dB erreicht, kann ein startender Düsenjet 130-140 dB überschreiten. Längere Exposition gegenüber Pegeln über 90 dB kann bereits zu dauerhaften Gehörschäden führen. Ein wichtiger Praxistipp für die Arbeit im Studio lautet daher: Arbeite immer mit einer angenehmen Lautstärke, die deine Ohren nicht ermüdet. Das schont nicht nur dein Gehör, sondern ermöglicht auch eine objektivere Beurteilung des Mixes über längere Zeiträume.
• Klangfarbe (Timbre) Das Timbre ist der einzigartige "Charakter" oder die "Farbe" eines Klangs. Es ist der Grund, warum wir eine Gitarre von einer Trompete unterscheiden können, selbst wenn beide dieselbe Note (Frequenz) mit derselben Lautstärke (Intensität) spielen. Dieser einzigartige Klangfingerabdruck entsteht durch das komplexe Zusammenspiel von Grundton und Obertönen (Harmonischen). Die Klangfarbe ist entscheidend, denn sie vermittelt Emotion und Textur. Es ist daher wichtig, bereits bei der Aufnahme auf eine angenehme und passende Klangfarbe zu achten, da Korrekturen in der Postproduktion ihre Grenzen haben.
Nachdem wir nun die physikalischen Grundlagen verstanden haben, schauen wir uns an, wie diese analogen Schallwellen in die digitale Welt der Nullen und Einsen übersetzt werden.
--------------------------------------------------------------------------------
2. Von Analog zu Digital: Die technischen Grundlagen im Griff
2.1. Die digitale Revolution des Tons
Wie wird eine kontinuierliche, analoge Schallwelle in eine digitale Datei umgewandelt, die ein Computer verstehen kann? Das Verständnis dieses Prozesses ist entscheidend, denn die Qualität deiner digitalen Aufnahme hängt direkt von den Parametern ab, die bei dieser "Übersetzung" verwendet werden.
2.2. Die Schlüsselparameter der digitalen Aufnahme
• Abtastrate (Sample Rate) Stell dir vor, du machst in extrem schneller Abfolge "Schnappschüsse" einer analogen Schallwelle. Die Abtastrate gibt an, wie viele dieser Schnappschüsse (Samples) pro Sekunde aufgenommen werden. Sie wird in Kilohertz (kHz) gemessen. Gängige Standards sind 44,1 kHz (CD-Qualität) und 48 kHz, der heute übliche Standard für Video. Höhere Raten wie 96 kHz oder 192 kHz ermöglichen eine noch detailliertere Rekonstruktion der ursprünglichen Schallwelle, was besonders bei komplexen Aufnahmen wie Orchestermusik relevant sein kann.
• Bittiefe (Bit Depth) Die Bittiefe beschreibt die Informationsmenge, die in jedem einzelnen Sample gespeichert wird. Stell dir die Bittiefe wie die Anzahl der Buntstifte in einem Malkasten vor. Mit 8-Bit hast du 256 Stifte – ausreichend für einfache Skizzen. Mit 24-Bit hast du über 16 Millionen Stifte, was dir unendlich feine Schattierungen und Farbverläufe ermöglicht. Dieser riesige Spielraum ist es, der dir in der Nachbearbeitung erlaubt, den Ton zu formen, ohne dass er "bricht" oder an Qualität verliert. Der Sprung von 16-Bit zu 24-Bit war in der Audiowelt revolutionär. Ein erfahrener Tontechniker beschrieb es einmal so: "Als 24-Bit eingeführt wurde, dachte ich, ich wäre über Nacht plötzlich gut geworden." Das beschreibt perfekt, wie eine höhere Bittiefe die Klarheit und Bearbeitbarkeit des Signals fundamental verbessert und heute den professionellen Standard darstellt.
• Signal-Rausch-Verhältnis (Signal-to-Noise Ratio) Dieser Wert beschreibt den Abstand zwischen dem gewünschten Nutzsignal (z. B. einer Stimme) und dem unerwünschten Hintergrundrauschen (z. B. das Rauschen der Elektronik). Eine zu leise Aufnahme ist ein klassisches Problem: Wenn du die Lautstärke in der Postproduktion anhebst, um die Stimme verständlich zu machen, wird auch das Grundrauschen überproportional verstärkt. Das Ergebnis ist ein verrauschtes, unprofessionelles Audio. Ziel ist es daher immer, ein starkes Nutzsignal mit möglichst geringem Rauschen aufzunehmen.
Mit diesem technischen Rüstzeug können wir uns nun der praktischen Ausrüstung zuwenden, die du für professionelle Aufnahmen benötigst.
--------------------------------------------------------------------------------
3. Dein Werkzeugkasten für die Aufnahme: Die richtige Ausrüstung
3.1. Mehr als nur ein Mikrofon
Die Wahl der richtigen Ausrüstung ist der erste praktische Schritt zu professionellem Ton. Dabei geht es nicht darum, immer das teuerste Equipment zu besitzen, sondern das für den jeweiligen Zweck am besten geeignete. Ein gutes Mikrofon am richtigen Ort ist Gold wert.
3.2. Mikrofontypen und ihre Richtcharakteristiken
Mikrofone unterscheiden sich darin, aus welcher Richtung sie Schall aufnehmen. Diese Eigenschaft nennt man Richtcharakteristik.
• Niere (Cardioid) Dieses Mikrofon nimmt den Schall hauptsächlich von vorne auf, während Geräusche von den Seiten und von hinten stark gedämpft werden. Es ist ideal für Interviews, Voice-over oder Gesang, da es die Schallquelle isoliert und Umgebungsgeräusche reduziert.
• Superniere/Keule (Super-cardioid/Shotgun) Noch gerichteter als die Niere, ist dieser Typ die erste Wahl für Dialogaufnahmen am Filmset. Diese "Shotgun"- oder "Richtrohr"-Mikrofone werden oft an einer Tonangel (Boom) über den Schauspielern positioniert, um ihre Stimmen präzise einzufangen und störende Umgebungsgeräusche maximal zu unterdrücken.
• Kugel (Omnidirectional) Wie der Name schon sagt, nimmt dieses Mikrofon Schall aus allen Richtungen (360 Grad) gleichmäßig auf. Es eignet sich hervorragend, um die allgemeine Raumatmosphäre ("Atmo") oder eine Diskussionsrunde mit mehreren Personen aufzunehmen, bei der ein einziges Mikrofon im Zentrum steht.
• Acht (Figure-8) Dieses Mikrofon ist bidirektional, das heißt, es nimmt Schall von vorne und hinten auf, ist aber von den Seiten fast taub. Ein klassischer Anwendungsfall ist ein Interview, bei dem sich zwei Personen gegenübersitzen und das Mikrofon dazwischen platziert ist.
3.3. Unverzichtbares Zubehör
• Windschutz ("Dead Cat"): Ein pelziger Überzug für das Mikrofon, der Windgeräusche bei Außenaufnahmen drastisch reduziert und so unbrauchbare Aufnahmen verhindert.
• Mikrofonspinne (Shock Mount): Eine elastische Aufhängung, die das Mikrofon vom Stativ oder der Tonangel entkoppelt. Sie ist die direkte Lösung gegen die in Abschnitt 4.2 beschriebenen Störgeräusche wie Körperschall und Griffgeräusche, da sie Vibrationen absorbiert und deren Übertragung verhindert.
• Externe Recorder (Field Recorder): Geräte von Herstellern wie Zoom oder Tascam bieten gegenüber der direkten Aufnahme in die Kamera erhebliche Vorteile. Sie verfügen über hochwertigere Mikrofonvorverstärker, ermöglichen Aufnahmen mit höherer Bittiefe (24-Bit) und bieten die Möglichkeit, mehrere Mikrofone gleichzeitig auf separaten Spuren aufzunehmen.
Jetzt, wo dein Werkzeugkasten gefüllt ist, geht es an die praktische Anwendung am Set.
--------------------------------------------------------------------------------
4. Die Aufnahme-Session: So gelingt der Ton am Set
4.1. Die Wahrheit liegt am Set
Der Satz "Das reparieren wir in der Postproduktion" ist im Audiobereich das gefährlichste Mantra überhaupt. Ein übersteuertes Signal ist nicht zu retten – Punkt. Eine saubere, gut ausgesteuerte Aufnahme am Set ist keine Option, sie ist die einzige Versicherung für dein Projekt.
4.2. Praktische Tipps für perfekte Aufnahmen
1. Pegel richtig einstellen Die goldene Regel der digitalen Aufnahme lautet: Niemals über 0 dBFS (Dezibel Full Scale) aussteuern! Digitales Clipping ist nicht wie die "warme" Sättigung bei analogem Band. Es ist ein brutales, hässliches Knacken, das dein Audio sofort unbrauchbar macht. Es gibt keinen Weg zurück. Eine bewährte Praxis ist, die Dialogpegel so einzustellen, dass sie im Durchschnitt bei etwa -12 dB liegen und Spitzenwerte bei ca. -6 dB erreichen. Dies lässt genügend "Headroom" (Sicherheitsabstand), um unerwartete laute Geräusche ohne Clipping abzufangen.
2. Audio-in-Kamera als Rettungsanker Auch wenn du einen externen Recorder verwendest, solltest du immer den Ton auch direkt in der Kamera aufnehmen. Dieser sogenannte "Scratch Track" muss qualitativ nicht perfekt sein, aber seine Wellenform dient in der Postproduktion als unschätzbare Referenz und erleichtert die automatische Synchronisation mit dem hochwertigen externen Audio massiv.
3. Häufige Probleme vermeiden
◦ Elektrisches Brummen (Hum): Ein tiefes 50-Hz-Brummen entsteht oft, wenn Audiokabel parallel zu Stromkabeln verlegt werden. Die elektromagnetische Induktion stört das Audiosignal. Tipp: Wenn sich Audio- und Stromkabel kreuzen müssen, dann immer im 90-Grad-Winkel. Das minimiert die Störeinstrahlung.
◦ Umgebungsgeräusche (Noise): Nimm an jedem Drehort immer mindestens 30 Sekunden der "Stille" auf. Dieser "Room Tone" fängt die einzigartige Raumatmosphäre ein (das Summen der Klimaanlage, das leise Rauschen der Umgebung). In der Postproduktion ist dieser Room Tone unerlässlich, um Dialogpausen zu füllen und eine durchgehende, natürliche Tonkulisse zu schaffen, die Schnitte unhörbar macht.
◦ Rascheln und Knistern (Crackles): Achte während der Aufnahme auf Störgeräusche, die durch Bewegung entstehen, wie das Rascheln von Kleidung an einem Ansteckmikrofon (Lavalier). Höre genau mit Kopfhörern hin und korrigiere die Mikrofonposition sofort, anstatt zu hoffen, es später entfernen zu können.
Wenn die Aufnahmen im Kasten sind, beginnt der nächste entscheidende Schritt: die Nachbearbeitung.
--------------------------------------------------------------------------------
5. Die Magie der Post-Produktion: Dein Audio auf das nächste Level heben
5.1. Wo aus gutem Ton großartiger Ton wird
Die Postproduktion ist mehr als nur Fehlerkorrektur. Sie ist ein kreativer Prozess, in dem du den aufgenommenen Ton formst, veredelst und perfekt auf das Bild abstimmst, um die emotionale Wirkung deines Videos zu maximieren.
5.2. Der Workflow der Audio-Nachbearbeitung
1. Synchronisation Der erste Schritt ist, den extern aufgenommenen Ton mit dem Videobild zu synchronisieren. Die einfachste Methode ist die automatische Synchronisation anhand der Wellenform. Deine Schnittsoftware analysiert den "Scratch Track" der Kamera und legt den hochwertigen externen Ton exakt deckungsgleich an. Die klassische manuelle Methode verwendet eine Filmklappe (Clapperboard) als visuellen (das Schließen der Klappe) und auditiven (der "Klack") Referenzpunkt.
2. Aufräumen und Reparieren (Cleaning & Repair) Hier werden unerwünschte Störgeräusche entfernt. Ein DeHummer-Plugin eliminiert effektiv das 50-Hz-Brummen, das, wie in Abschnitt 4.2 erläutert, oft durch parallel verlegte Strom- und Audiokabel entsteht. Ein Noise Reduction-Plugin kann noch mehr: Du fütterst es mit einem "Rauschprofil" – deinem aufgenommenen Room Tone – und der Algorithmus lernt, wie das spezifische Hintergrundrauschen deines Aufnahmeorts klingt. Anschließend kann er dieses Rauschen intelligent aus den Dialogspuren reduzieren, ohne die Stimme zu stark zu beeinträchtigen.
3. Der Mix – Die vier Grundpfeiler Im Mix werden alle Audio-Elemente (Dialoge, Musik, Effekte) in ein harmonisches Gleichgewicht gebracht.
◦ Equalizer (EQ): Der EQ ist dein Werkzeug zur Formung der Klangfarbe. Mit ihm kannst du bestimmte Frequenzbereiche anheben oder absenken. So kannst du einer Stimme mehr Präsenz verleihen, störende Frequenzen reduzieren oder kreative Effekte erzeugen. Ein praktisches Beispiel: Mit einem Hoch- und Tiefpassfilter, der Bässe und Höhen radikal beschneidet, erzeugst du den typischen "Telefon-Effekt".
◦ Kompressor: Stell dir einen Dialog vor, bei dem der Sprecher flüstert und dann plötzlich lacht. Ohne Kompressor müsstest du die Lautstärke manuell ständig nachregeln. Der Kompressor agiert wie ein unsichtbarer, blitzschneller Tontechniker, der die lauten Stellen sanft zurücknimmt und die leisen anhebt. Das Ergebnis: Die Stimme bleibt durchgehend präsent und verständlich, ohne dass der Zuhörer zum Lautstärkeregler greifen muss.
◦ Panorama (Pan): Mit dem Pan-Regler positionierst du eine Klangquelle im Stereobild. Du entscheidest, ob ein Geräusch von links, rechts oder aus der Mitte kommen soll, um eine räumliche Klangbühne zu schaffen.
◦ Lautstärke-Automation (Volume Automation): Dies ist die Kunst, die Lautstärke einzelner Spuren im Zeitverlauf dynamisch anzupassen. Ein klassisches Beispiel ist das "Ducking", bei dem die Musik automatisch leiser wird, sobald ein Dialog einsetzt, und in den Pausen wieder ansteigt.
Mit diesen Werkzeugen verwandelst du deine Rohaufnahmen in ein professionelles und emotional wirkungsvolles Klangerlebnis.
--------------------------------------------------------------------------------
6. Conclusion: Your next project deserves better sound.
Good sound isn't rocket science. It's the result of conscious listening, careful planning, and the application of the right techniques – from the foundations of sound theory and the selection of suitable equipment to the final refinement in post-production.
Some of these concepts might seem technical at first, but they are the building blocks that differentiate an amateur video from a professional production. Take the tips and techniques from this guide and apply them to your next project. Listen carefully, experiment, and experience for yourself how a well-thought-out audio concept can elevate your visual storytelling to a whole new level. Your audience will thank you.
You are filming, but it feels empty?
Warum visuelles Erzählen wichtiger ist als Technik – und wie du es trainierst
Du kennst das sicher: Du startest motiviert in dein nächstes Videoprojekt. Kamera ist bereit, Akku voll, das Wetter perfekt. Du filmst, was dir vor die Linse kommt – und zurück am Rechner? Ernüchterung. Die Bilder sind technisch okay, aber sie wirken... leer. Ohne Zusammenhang. Ohne Gefühl.
Genau an diesem Punkt stecken viele, die sich ernsthaft mit Videografie beschäftigen – egal ob Anfänger:in oder bereits ambitioniert.
Technik ist nicht alles – Story ist alles
Der häufigste Fehler: Der Fokus liegt zu sehr auf der Technik. Du beschäftigst dich mit Belichtung, ISO, Fokus und Bildausschnitt – was grundsätzlich wichtig ist. Aber dabei gerät etwas aus dem Blick: die Geschichte.
Denn du filmst nicht einfach nur Bilder. Du erzählst mit ihnen. Und das braucht Struktur, ein Ziel – und ein bisschen Übung.
Viele denken, weil sie täglich Videos auf YouTube oder Instagram sehen, wüssten sie automatisch, wie man eine Story aufbaut. Aber das ist ein Irrtum. Visuelles Erzählen ist eine Fähigkeit. Und die kann man trainieren.
Zwei praktische Übungen, die dein Storytelling sofort verbessern
🧭 Übung 1: Der Story-Walk
Nimm deine Kamera, geh raus – aber bleib technisch bewusst reduziert. Kein Einstellungsstress. Stattdessen: Suche drei Motive, die etwas gemeinsam haben.
Zum Beispiel:
Etwas Altes
Etwas Bewegtes
Etwas Nahes
Dann frag dich: Welche Geschichte erzählen diese Bilder zusammen?
Wie kannst du sie visuell verknüpfen?
So lernst du, Beobachtung mit Bedeutung zu verbinden.
☕ Übung 2: Der Mini-Storyline-Test
Schnapp dir ein Alltagsmotiv – z. B. „Ein Morgen mit Kaffee“. Und filme nur drei Einstellungen:
Weitwinkel: Der Raum, die Szene
Detail: Z. B. wie Kaffee in die Tasse fließt
Aktion: Jemand nimmt einen Schluck
Jetzt hast du ein Mini-Drehbuch – ganz ohne Worte.
Ziel: Du beginnst, visuell zu denken, statt einfach draufzuhalten.
Fazit: Du musst kein Profi sein – aber ein Erzähler
Es geht nicht darum, sofort die perfekte Filmkomposition zu finden. Es geht darum, bewusst zu sehen und zu gestalten.
Wenn du diese zwei Übungen regelmäßig machst, wirst du schnell merken:
Deine Videos bekommen Struktur.
You develop a sense of rhythm and atmosphere.
And you'll become more confident – also in technology.
You want to start making videos – but don't know where to begin?
You click through camera comparisons, watch hours of reviews on YouTube – and end up with more questions than before? Welcome to the tech jungle.
But here's an idea that could change everything:
The camera doesn't tell your story – you do.
Why most people start wrong
Most beginners make the same mistake: they start with the technology.
Which camera is good?
Do I need a gimbal?
Which microphone should I buy?
And what is the best video editing software?
It's easy to get caught in an endless loop of reviews, price comparisons, and uncertainty.
This is called " analysis paralysis "—and it's the main reason why many people don't even start.
The better question is: How do I start making films?
If you're asking yourself that, then technology isn't the first answer .
The real starting point is much simpler – and at the same time much more effective:
Learn visual storytelling.
Because film is a language – a visual language.
And as with any language, it's primarily about understanding , not the tool .
You don't need expensive equipment to get started.
You don't need a €2,000 setup to understand what a wide-angle shot "says,"
or how a close-up amplifies emotions.
What you need is an eye for the essentials:
What is in the picture?
What not?
What is moving – and why?
What evoke feelings in the viewer do I want to achieve?
You can learn this with a smartphone. Or with an old camera that's lying around in a cupboard somewhere.
Start with what you have
Go outside.
Capture everyday scenes.
Observe what light does to a face.
What a tripod changes.
How your perspective on spaces shifts when you begin to consciously compose your images.
If you use a tripod from the start – no matter how cheap – you will notice:
You compose more consciously.
You realize how important calm images are.
You can feel when movement is meaningful.
Sound: The underestimated factor
Many viewers will forgive bad picture quality.
But bad sound? They'll click away without mercy.
That doesn't mean you have to buy a professional microphone right away.
But it does mean: Pay attention to the sound.
Listen to the ambient sounds.
Speak deliberately.
Choose rooms with little reverberation.
Use your hearing like you use your eyes – as a creative tool.
Don't start with technology – start with stories.
If you take away only one thing from this post today, let it be this:
👉 Don't start with technology – start with stories.
Choose a scene from your life today:
The coffee in the morning
A walk
A conversation with someone
Record them. Simply. Without pressure.
Ask yourself:
What do I want to show?
What do I leave out?
What effect does the image have on the person who sees it?
Edit it or don't.
The important thing is: you've started.
And with every clip, you'll get better.
Technology comes later – when you know what it's for.
In a few weeks or months, you might think about new equipment again.
But by then you'll know what you need it for.
Not because a review says so – but because your story demands it.
The best time to start? Now.
Thank you for taking the time today.
If you'd like to delve deeper into the world of visual storytelling, subscribe to the podcast .
And feel free to send me your first results.
Because: The first step has been taken.
And the best time to start is now .
Between fake and fact – How artificial intelligence is challenging our reality
Imagine a video that looks so real you can't distinguish it from reality – but it's entirely created by AI. My latest podcast episode explores this scenario and asks: What does this new reality mean for us as creators and as consumers?
The challenge: A wave of AI-generated content
With systems like Google's Veo, we're on the verge of anyone being able to create deceptively realistic videos. Billions of people could create content that's indistinguishable from "real" or "fake." What follows is an unprecedented flood of media—much of it mediocre in quality, but visually compelling. The term "media fast food" sums it up perfectly.
The danger: Loss of orientation
The biggest threat: Our sense of reality is faltering. Especially in news and political communication, fake news could become even harder to detect in the future. Experts are even speaking of a one- to two-year period of "total confusion." What we need is a new form of media literacy—a "literacy of reality."
The solution for creatives: Depth instead of speed
Instead of competing with AI, creative minds should focus on quality, ethics, and meaning. The metaphor: Think like a chef in a good restaurant, not like a fast-food joint. The key lies in the "why "—in stories that convey genuine emotions and human experiences.
Consumer responsibility: Becoming more vigilant
Viewers also have a role to play. In a world saturated with synthetic content, recognizing and cultivating trustworthy sources will be crucial . Authenticity and depth are no longer a given, but must be consciously sought and valued.
Conclusion: Authenticity remains our trump card.
AI will change many things – but not everything. Personal perspective, lived experience, and genuine humanity remain irreplaceable. Therefore, we urge us all: Stay alert. Stay authentic.
Stuttgart, June 8, 2025
Legal notice
imprint
Information according to § 5 TMG
Biagio Lopresto
Contact:
Email: biagio.lopresto@t-online.de
Responsible for the content according to § 55 Abs. 2 RStV:
Biagio Lopresto
Address as above
EU Dispute Resolution:
The European Commission provides a platform for online dispute resolution (ODR):
https://ec.europa.eu/consumers/odr/
I am neither obliged nor willing to participate in dispute resolution proceedings before a consumer arbitration board.
Liability for content:
As a service provider, I am responsible for my own content on these pages in accordance with Section 7 Paragraph 1 of the German Telemedia Act (TMG).
However, according to Sections 8 to 10 of the TMG, I am not obligated as a service provider to monitor transmitted or stored third-party information.
Liability for links:
This website may contain links to external websites of third parties, over whose content I have no influence.
Therefore, I cannot assume any liability for this external content.
Copyright:
The content and works created by the website operator on these pages are subject to German copyright law.
Reproduction, processing, and commercial use require the written consent of the respective author.
Privacy policy
Privacy Policy
1. General Information
The protection of your personal data is of particular importance to me. I process your data exclusively on the basis of the legal provisions (GDPR, TMG).
2. Responsible person
Biagio Lopresto
Email: biagio.loprestp@t-online.de
3. Collection and storage of personal data and the nature and purpose of its use
a) When visiting the website:
When you access this website, information is automatically transmitted from your device's browser to the server. This information is temporarily stored in so-called log files. The
following data may be recorded:
IP address
Date and time of the request
Browser type and version
operating system
This data serves to ensure a smooth connection setup and system security.
b) Use of the contact form
If you send me inquiries via the contact form, your information, including the contact details you provide, will be stored for the purpose of processing the inquiry.
Data collected:
First name
Last name
E-mail address
News
The processing of this data is based on Article 6 Paragraph 1 Letter b GDPR.
The data will be deleted as soon as it is no longer needed for the purpose for which it was processed.
4. Disclosure of Data
Your personal data will not be transmitted to third parties, except:
if this is required by law
or for technical processing (e.g. hosting providers)
5. Your rights
You have the right to:
Right to information (Art. 15 GDPR)
to rectification (Art. 16 GDPR)
to erasure (Art. 17 GDPR)
to restriction of processing (Art. 18 GDPR)
right to data portability (Art. 20 GDPR)
6. Right to object
You can object to the processing of your personal data at any time.
7. Data security
This website uses SSL encryption (HTTPS) for security reasons.
8. Current validity and changes to this privacy policy
This privacy policy is currently valid and was last updated in March 2026.